Are you intrigued by the prospect of building your own Internet of Things (IoT) infrastructure without breaking the bank? Building a Raspberry Pi IoT cloud server for free is not only possible but is becoming increasingly accessible, offering a compelling blend of affordability and customization in a rapidly expanding technological landscape.
The realm of IoT has exploded in recent years, transforming industries and everyday life alike. From smart home devices to industrial automation systems, the demand for interconnected devices and data-driven insights has never been higher. Simultaneously, the call for cost-effective, flexible solutions has intensified. This confluence of needs has propelled the popularity of Raspberry Pi-based IoT cloud servers, which offer a powerful and surprisingly economical pathway to harnessing the potential of IoT.
The hardware palette for an IoT project is composed of various boards, shields, and carriers, offering significant flexibility for the developer.
Lets begin by addressing a common point of confusion. There is a distinction to be made between "blynk local server" and "blynk cloud server." These are not related to each other. Understanding this difference is critical for project architecture and functionality.
One of the primary motivations for embracing a Raspberry Pi IoT cloud server is the opportunity to upload data to any cloud server using the Raspberry Pi. In this context, cloud servers serve as central repositories where data collected from various sensors and devices is stored, processed, and analyzed. This enables users to monitor, control, and gain insights from their IoT deployments. In the simplest of Raspberry Pi IoT projects, platforms such as ThingSpeak can be utilized as cloud servers for storing data.
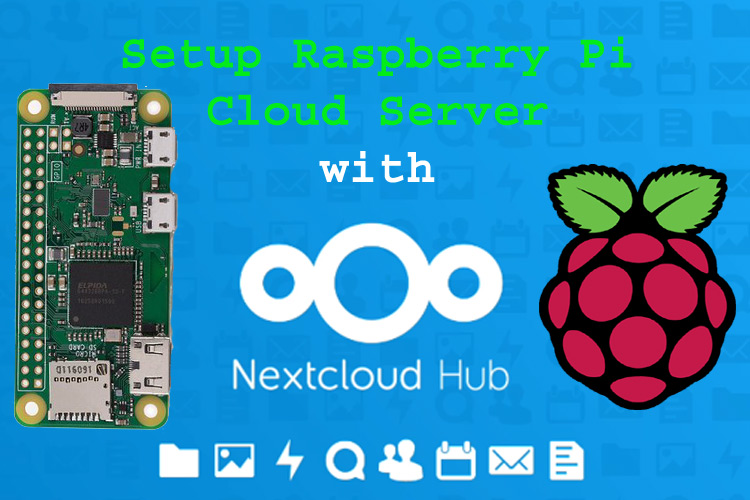
Raspberry Pi has evolved over a few iterations, with a spectrum of models released over the years, each with unique specifications and pricing. The Raspberry Pi 3, along with the Raspberry Pi Zero, stands out as a popular choice for IoT projects.
The process to register a Raspberry Pi with an IoT hub typically follows a structured set of steps. Developers have successfully bridged the gap between their Raspberry Pi and the Azure cloud, demonstrating the platform's adaptability with cloud services. Experimentation is key.
The benefits of a free Raspberry Pi IoT cloud server extend beyond just the financial aspect. These solutions offer a level of customization that is often absent in proprietary systems. Users have complete control over their hardware and software, allowing them to tailor their IoT deployments to specific needs.
To get started, it's essential to ensure that your system is up-to-date. This usually involves executing commands such as "sudo apt update" followed by "sudo apt upgrade."
For many applications, the sensor/control part of a project can communicate with the web server part residing in the cloud via a messaging system. For the web server, the open-source Nginx web server is often a preferred option.
The evolution of IoT applications is at the forefront of development within the Raspberry Pi ecosystem. As technology advances and new Raspberry Pi models are introduced, the potential for IoT applications will continue to broaden. One can export flows for deployment on various platforms, including Raspberry Pis and cloud servers.
To determine what is suitable for your needs, it is crucial to assess the key features and functionalities. Depending upon what features or functionalities you are looking for, you will have to decide which is suitable for your needs. Many IoT platform companies exist, and to understand the best options, you can refer to resources that provide lists of top IoT platforms, best open-source or free IoT platforms, and their key features.
The future holds considerable promise for Raspberry Pi IoT servers, as their application potential grows. The opportunity to manage devices efficiently is one of the most appealing benefits.
The ability to export flows for deployment on various platforms, ranging from Raspberry Pis to cloud servers, underscores the platform's flexibility. Furthermore, a thriving community of developers and users provides crucial support and inspiration.
A significant advantage of this approach is the affordability and customization possibilities that Raspberry Pi-based systems offer. Unlike commercial cloud services, building your server gives you complete control over the hardware and software. This lets you adapt the system to your specific requirements, integrating custom sensors, and implementing specific algorithms, to make the system your own. The cost savings can be substantial, particularly in the long run, avoiding recurring subscription fees.
The open-source nature of many components used in this process, such as the operating system and server software, also ensures there are no vendor lock-ins. You are not tied to a specific provider and can switch or modify your setup as needed. Moreover, the Raspberry Pi community provides an invaluable resource, offering tutorials, support forums, and open-source projects that can guide you through every step.
When exploring cloud servers for your Raspberry Pi IoT project, you are offered a range of options. You can choose to use existing cloud platforms like AWS, Azure, or Google Cloud. These provide a managed infrastructure, making it easier to handle scaling, security, and other operational aspects, but also come with associated costs. However, you can also build your cloud server using the Raspberry Pi itself. This approach involves installing server software on the Pi and configuring it to receive, store, and process the data from your sensors.
The Raspberry Pi can run a wide range of operating systems. Raspberry Pi OS (formerly Raspbian), a Debian-based Linux distribution, is a common choice due to its ease of use and extensive software library. Alternatives include Android, Windows 10 IoT Core, and other Linux distributions. The choice of operating system depends on the specific needs of your project, such as compatibility with various hardware and software libraries or specific performance requirements.
To begin, you'll require a Raspberry Pi board (any model will do, but the newer models offer better performance), an SD card for the operating system, a power supply, and an internet connection. You'll then need to install your chosen operating system onto the SD card and configure it to connect to your network. Next, you can set up the server software, which could be a web server like Nginx or Apache to host the data. You can install database software to store the data and install the necessary programming languages and libraries to interact with your sensors and devices.
Many projects will involve collecting data from sensors. These can include temperature sensors, humidity sensors, light sensors, and motion detectors, depending on the specific application. You will need to connect these sensors to the Raspberry Pi and write code to read the data from the sensors and send it to your server. This code can be written in languages like Python, which provides extensive libraries for interfacing with hardware.
Setting up your free Raspberry Pi IoT cloud server presents both challenges and rewards. The initial setup might require technical knowledge, but many tutorials and examples are available online. You may need to troubleshoot network configurations, software installations, and the connections between your devices and the Raspberry Pi.
However, as you master these skills, you will acquire in-depth experience with hardware, software, networking, and data management. This practical experience can become beneficial, and the satisfaction of having a fully customized, cost-effective IoT solution is immense. Consider this endeavor not just as a technical exercise but as a journey into the heart of IoT.
When selecting a Raspberry Pi model, the options available vary. The Raspberry Pi 3 remains a popular choice due to its balance of processing power, connectivity, and affordability. The Raspberry Pi Zero offers a smaller, cost-effective solution suitable for projects where size and power consumption are critical. Each model offers its own set of features, and the selection should consider the specific requirements of the project, like the number of sensors, processing needs, and connection requirements.
The Raspberry Pi's versatility allows users to deploy their projects on various platforms. For instance, you can use it as a home automation hub. The Raspberry Pi can connect to various sensors and devices, such as smart lighting, thermostats, and security systems. The data collected from these devices can be uploaded to a cloud server for remote monitoring and control. Or, you can create a weather station. It is also possible to install weather sensors and record environmental data such as temperature, humidity, and atmospheric pressure.
To register your Raspberry Pi with an IoT hub or cloud platform, you may need to create an account with the cloud provider and follow specific registration instructions. These instructions may involve installing specific software libraries, configuring your device's network settings, and generating API keys or access tokens. The goal is to create a secure and reliable communication channel between your Raspberry Pi and the cloud platform.
Once your Raspberry Pi is connected to the cloud, you can visualize and analyze your data using various tools. Some cloud platforms provide built-in dashboards and visualization tools. Other platforms offer the possibility of exporting the data for use with third-party tools. By using visualizations, you can identify trends, monitor device performance, and make data-driven decisions.
As you go forward in the process, you will discover the dynamic nature of the Raspberry Pi IoT server ecosystem. You can find abundant documentation and support within the community. Forums and community platforms offer various solutions to common problems and provide guidance for project development. With this support, you are more likely to learn more about the technologies and succeed in your project.